Halloween Cake Pops
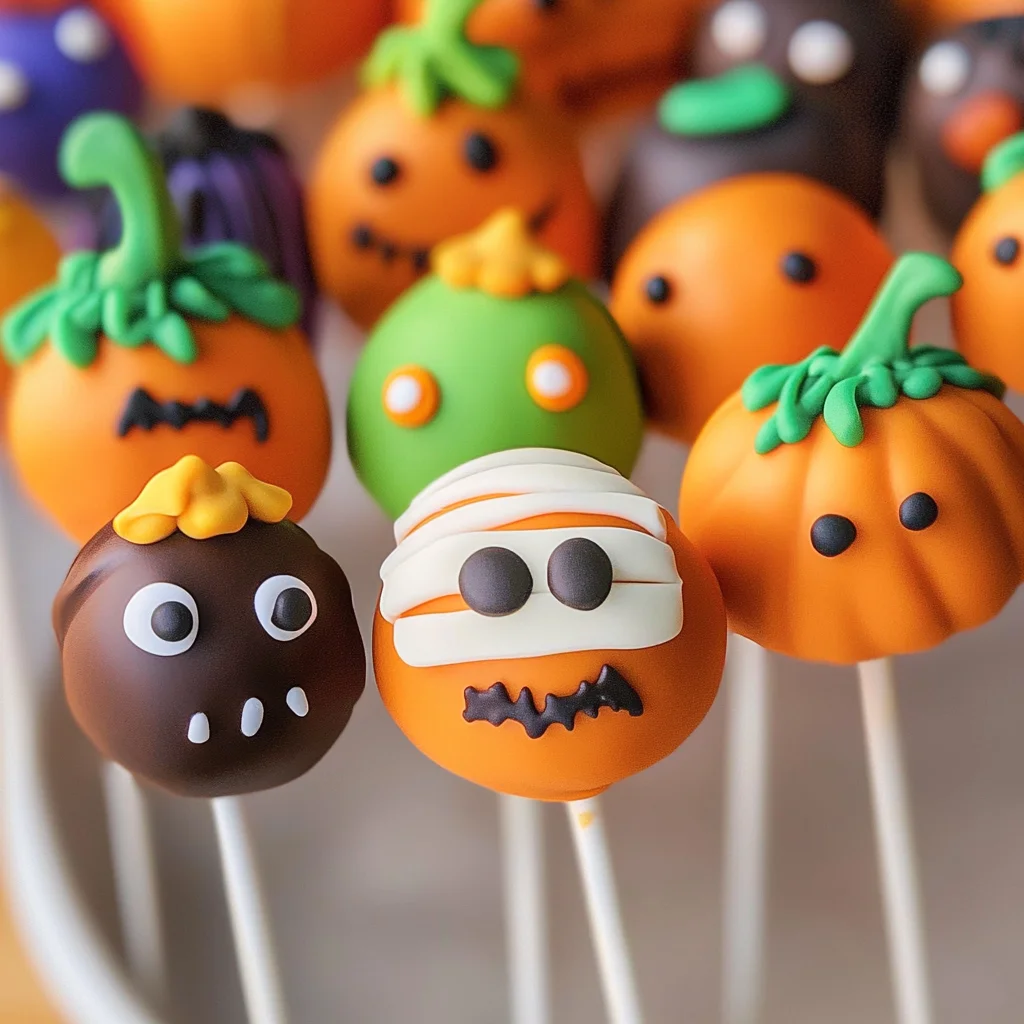
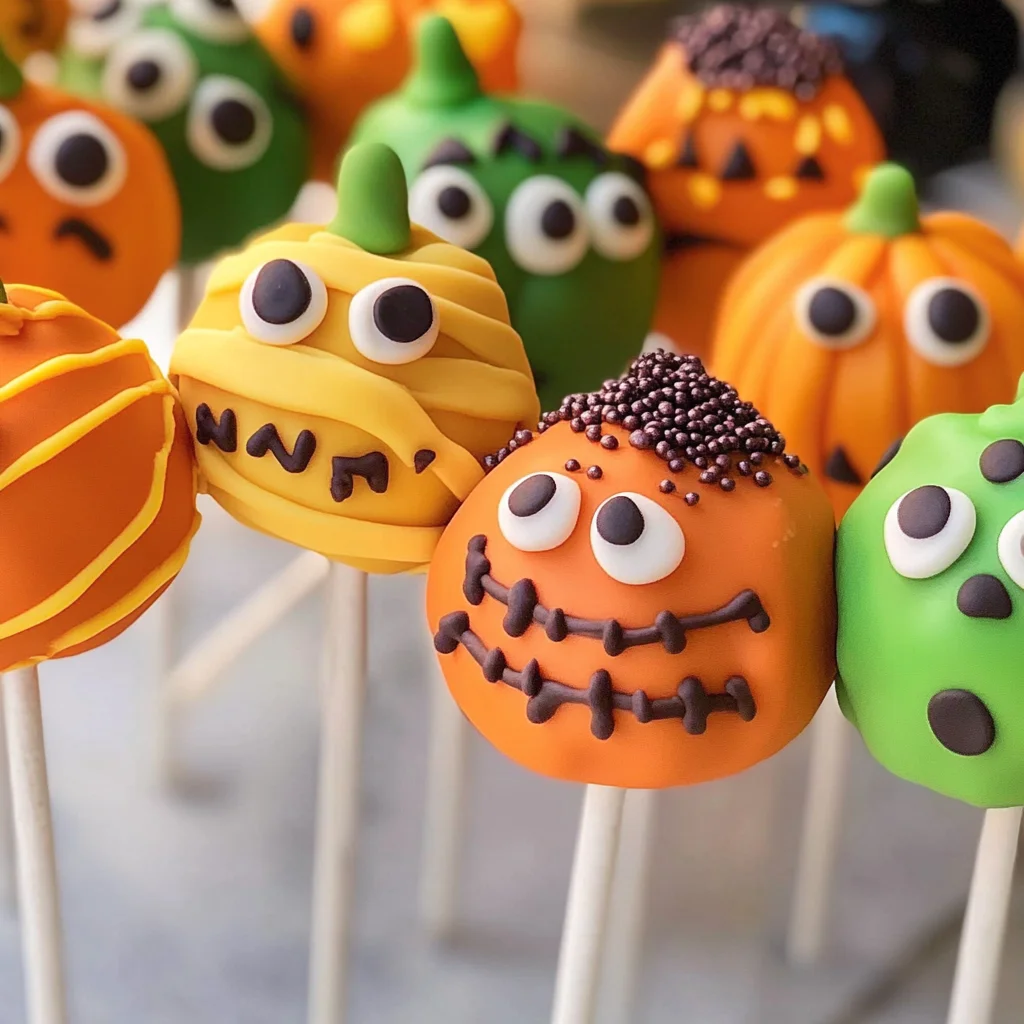
If you’re looking for a fun and festive treat to brighten up your Halloween gathering, these Halloween Cake Pops are just the thing! Imagine bite-sized pieces of delicious cake, beautifully decorated to look like spooky characters like pumpkins, mummies, and Frankenstein. Not only are they adorable, but they also bring a sense of joy to any party. This recipe is a favorite in my home because it’s easy to make and perfect for busy weeknights or family gatherings. Plus, everyone loves getting creative with their decorations!
These Halloween Cake Pops are delightful for both kids and adults alike. They’re a fantastic way to celebrate the season while sharing some sweet treats with friends and family. Let’s get started on making these ghoulishly good goodies!
Why You’ll Love This Recipe
- Easy to prepare: These cake pops come together quickly with simple ingredients and minimal fuss.
- Family-friendly fun: Kids will love helping decorate these spooky treats, making it a great bonding activity.
- Make-ahead convenience: You can prepare the cake pops in advance and store them for later enjoyment, taking some stress off your party planning.
- Delicious flavor: Whether you choose vanilla or chocolate cake, these pops are sure to satisfy any sweet tooth.
Ingredients You’ll Need
Gathering the right ingredients is half the fun! You’ll find that these simple, wholesome items come together to create something magical. Here’s what you’ll need to whip up your Halloween Cake Pops:
- 1 box Favorite cake mix
- 1 3.4 oz box instant pudding mix
- 4 eggs
- 1 cup water
- 1/3 cup vegetable oil
- 1 cup Frosting
- Candy Melts
- Toppings – sprinkles, candy eyes
Variations
This recipe is wonderfully flexible! Feel free to get creative with flavors and decorations. Here are some fun ideas:
- Try different cakes: Use chocolate or red velvet cake mix for a twist on flavor.
- Experiment with toppings: Switch up your decorations with nuts, edible glitter, or crushed cookies for extra crunch.
- Add flavor extracts: A splash of vanilla or almond extract in the cake mixture can elevate the taste.
- Make themed pops: Decorate them as ghosts or witches using different colors of Candy Melts.
How to Make Halloween Cake Pops
Step 1: Preheat Your Oven
First things first! Preheat your oven to 350°F (175°C). While that’s heating up, grab a 13 x 9 pan and spray it lightly with vegetable pan spray. This helps ensure your cake comes out easily and doesn’t stick.
Step 2: Mix the Batter
In a large bowl, combine your cake mix, pudding mix, eggs, water, and oil. Beat this mixture at medium speed for about two minutes until it’s smooth and well combined. Pour the batter into your greased pan—this is where all that deliciousness starts!
Step 3: Bake the Cake
Now it’s baking time! Place your pan in the preheated oven and bake for about 30-40 minutes. Keep an eye on it; when a toothpick inserted into the center comes out clean, it’s ready. Let it cool in the pan for about ten minutes.
Step 4: Crumble the Cake
Once cooled, it’s time to crumble! In a large bowl, use your hands (or two forks) to crumble the cake until no large chunks remain. This step makes sure your cake balls will hold together nicely.
Step 5: Add Frosting
Now comes the fun part! Add your frosting into the crumbled cake mixture. Use your fingers to mix everything together until it’s well combined—this will give your pops that moist texture.
Step 6: Form Cake Balls
Take small portions of the mixture and roll them into balls about an inch in diameter. This is where you can let your creativity shine—make them uniform or give them quirky shapes!
Step 7: Chill Out
Place those lovely little cake balls in the refrigerator for at least two hours. Chilling helps them firm up so they’re easier to work with later.
Step 8: Melt Candy Melts
While those chill out, melt some Candy Melts. You can do this by microwaving them in short intervals (30 seconds each) at half power or melting them over low heat on the stove.
Step 9: Insert Sticks
Dip each stick into melted Candy Melts before inserting it into each chilled cake ball. This helps secure them better when coating—you don’t want any pops falling off!
Step 10: Dip in Chocolate
Once set (you can speed this up by chilling them again), dip each pop fully into the melted Candy Melts until covered entirely. Let any excess drip off before moving on.
Step 11: Decorate!
Finally, sprinkle on your favorite toppings while the candy coating is still wet—get creative! Whether it’s candy eyes for monsters or colorful sprinkles for added flair, make each pop uniquely yours.
And there you have it! Your Halloween Cake Pops are ready to amaze everyone at that party! Enjoy this delightful process of making treats that not only taste great but also bring smiles all around.
Pro Tips for Making Halloween Cake Pops
Making Halloween cake pops can be a delightful experience, especially with these handy tips to ensure your creation is both fun and delicious!
- Choose the right cake mix: Opt for a box mix that you love or a flavor that resonates with Halloween, such as chocolate or pumpkin spice. This sets the foundation for a cake pop that everyone will enjoy.
- Keep your hands clean: When mixing the cake and frosting, dampen your hands slightly. This prevents the mixture from sticking too much, making it easier to form perfect cake balls.
- Chill before dipping: After forming your cake balls and inserting sticks, chill them thoroughly. This helps them hold their shape during the melting and coating process, resulting in a neater finish.
- Use different colors of Candy Melts: Get creative by using various colors of Candy Melts for a more vibrant display. Different colors can represent different characters like Frankenstein’s green or Mummy’s white.
- Experiment with toppings: Don’t shy away from adding personal touches! Use sprinkles, edible glitter, or even crushed cookies to give your cake pops an extra festive flair.
How to Serve Halloween Cake Pops
Presenting your Halloween cake pops can add an extra layer of fun to your celebration! Here are some creative ideas to showcase these spooky treats.
Garnishes
- Chocolate Drizzle: A drizzle of melted chocolate over the candy coating adds richness and makes them look extra tempting.
- Edible Glitter: Sprinkle some edible glitter over the top for a magical touch that glimmers in the light.
Side Dishes
- Ghostly Fruit Salad: A mix of seasonal fruits like oranges, apples, and grapes can provide a refreshing contrast to sweet cake pops while maintaining the festive theme.
- Witch’s Brew Punch: A non-alcoholic punch made with fruit juices and soda served in a cauldron-style bowl adds a fun atmosphere to your gathering.
- Spooky Veggie Platter: Arrange veggies in fun shapes (like ghosts or pumpkins) and serve with hummus or ranch dip for a healthy snack option.
- Mummy Dogs: Use crescent roll dough wrapped around hot dogs to create ‘mummies.’ These savory bites are perfect alongside sweet treats!
With these serving suggestions and pro tips, your Halloween cake pops will not only taste fantastic but also become the star attraction at your next spooky gathering! Enjoy creating and sharing these delightful treats!
Make Ahead and Storage
This Halloween Cake Pops recipe is perfect for meal prep, allowing you to create these delightful treats ahead of time. Whether for a school party or a festive gathering, these cake pops can be made in advance and stored for later enjoyment.
Storing Leftovers
- Store any leftover cake pops in an airtight container at room temperature.
- They will stay fresh for up to 3 days.
- If the frosting begins to soften, refrigerate them for a few hours to maintain texture.
Freezing
- Place the cake pops on a baking sheet lined with parchment paper and freeze until solid.
- Once frozen, transfer them to a freezer-safe container or zip-top bag.
- They can be frozen for up to 3 months. Just thaw in the refrigerator before serving.
Reheating
- There’s no need to reheat cake pops as they are best enjoyed at room temperature.
- If they have been refrigerated, let them sit out for about 15-20 minutes before serving to regain their softness.
FAQs
Here are some common questions about making Halloween Cake Pops that might help you along the way!
Can I use different flavors for Halloween Cake Pops?
Absolutely! Feel free to experiment with various cake mixes like red velvet or lemon. Just remember to adjust your frosting flavor accordingly to match your cake choice!
How do I achieve perfect decoration on my Halloween Cake Pops?
To ensure your decorations stick, allow the melted Candy Melts coating to set slightly before adding sprinkles or candy eyes. This way, they’ll adhere nicely without sliding off.
How long do Halloween Cake Pops last?
When stored properly, these Halloween Cake Pops can last up to 3 days at room temperature or up to 3 months in the freezer, making them a great treat for parties!
What are some creative ideas for decorating Halloween Cake Pops?
You can get really creative! Try using edible glitter, colored chocolate drizzle, or even fondant shapes to add spooky touches. The options are endless!
Final Thoughts
I hope you enjoy making these delightful Halloween Cake Pops as much as I do! They’re not only fun and festive but also a wonderful way to get into the spirit of the season. With their charming decorations and delicious taste, they’re sure to be a hit at your next gathering. So roll up your sleeves, let your creativity shine, and have a blast making these spooky treats!
Halloween Cake Pops
Get ready to impress your guests with these delightful Halloween Cake Pops! Perfect for parties and gatherings, these bite-sized treats are easy to make and provide a fun, festive way to celebrate the spooky season. Imagine colorful cake pops decorated like mummies, ghosts, and pumpkins that not only taste delicious but also bring a smile to everyone’s face. With simple ingredients and minimal fuss, you’ll enjoy creating these treats as much as everyone will love eating them. Gather your family for some creative decorating fun, and let’s get started on making these ghoulishly good goodies!
- Prep Time: 20 minutes
- Cook Time: 35 minutes
- Total Time: 55 minutes
- Yield: Approximately 12 cake pops 1x
- Category: Desserts
- Method: Baking
- Cuisine: American
Ingredients
- 1 box favorite cake mix
- 1 3.4 oz box instant pudding mix
- 4 eggs
- 1 cup water
- 1/3 cup vegetable oil
- 1 cup frosting
- Candy melts
- Toppings (sprinkles, candy eyes)
Instructions
- Preheat your oven to 350°F (175°C). Grease a 13 x 9 pan.
- In a large bowl, mix together the cake mix, pudding mix, eggs, water, and oil until smooth.
- Pour the batter into the prepared pan and bake for 30-40 minutes or until a toothpick comes out clean.
- Cool the cake for about ten minutes before crumbling into a large bowl.
- Mix in the frosting until well combined.
- Roll small portions into balls about an inch in diameter and chill for at least two hours.
- Melt candy melts in the microwave or over low heat on the stove.
- Dip each stick into melted candy before inserting it into each chilled ball.
- Dip each pop fully into the melted candy melts and let excess drip off.
- Decorate while still wet with your choice of toppings.
Nutrition
- Serving Size: 1 serving
- Calories: 150
- Sugar: 12g
- Sodium: 80mg
- Fat: 6g
- Saturated Fat: 1g
- Unsaturated Fat: 4g
- Trans Fat: 0g
- Carbohydrates: 21g
- Fiber: 0g
- Protein: 2g
- Cholesterol: 25mg
