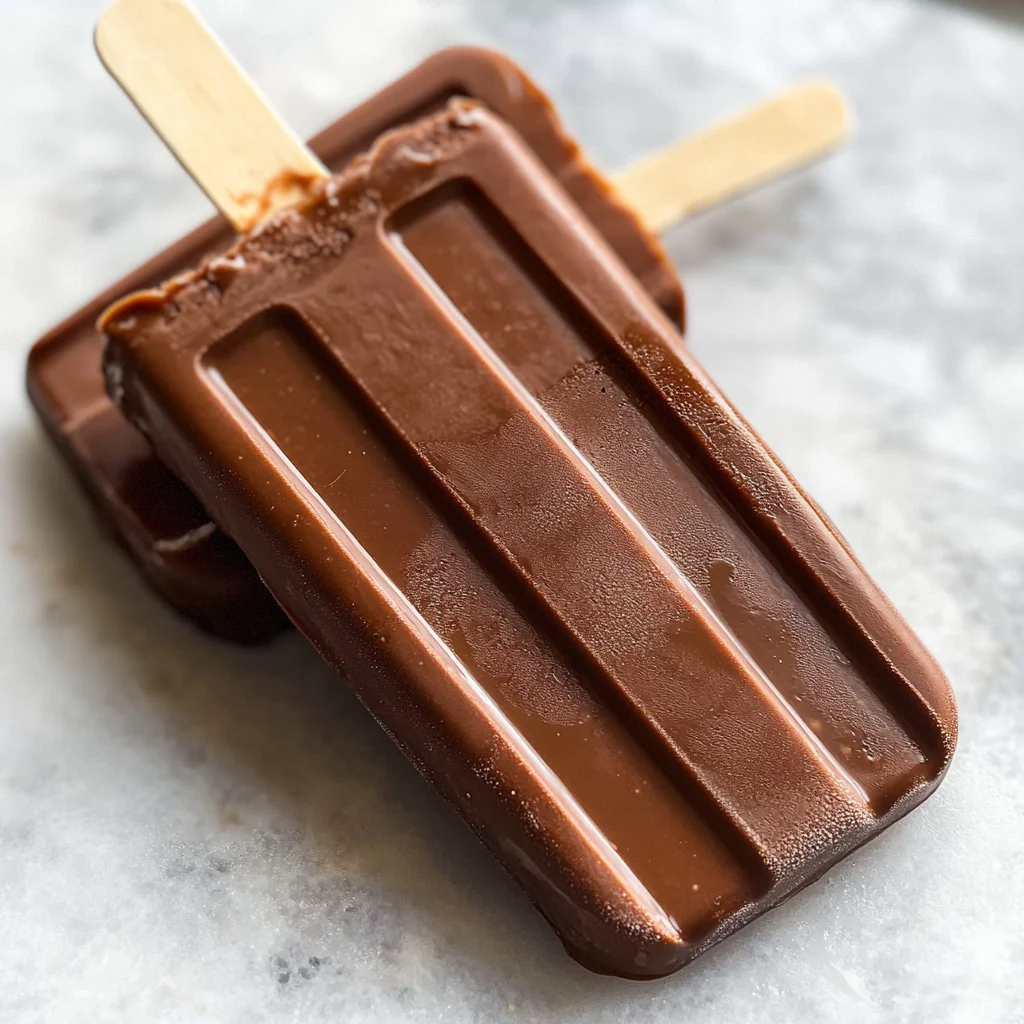
Fudge Popsicles
If you’re looking for a delightful way to cool down this summer, these Fudge Popsicles are just what you need! This recipe is a cherished favorite in my home, combining rich chocolatey goodness with a creamy texture that’s hard to resist. Whether it’s a busy weeknight or a fun family gathering, these popsicles are sure to bring smiles all around.
What makes these fudge popsicles so special is how easy they are to whip up with just seven simple ingredients. Plus, they’re a fantastic treat for both kids and adults alike! Who doesn’t love a cold, sweet treat on a hot day?
Why You’ll Love This Recipe
- Easy to make: With just a few steps, you can create delicious homemade popsicles that everyone will enjoy.
- Family-friendly: Kids love the chocolatey flavor, making them perfect for summer parties or after-school snacks.
- Make-ahead convenience: Prepare these fudge popsicles in advance and have a refreshing dessert ready whenever you need it!
- Customizable flavors: You can easily tweak the recipe to suit your taste buds or dietary needs.
- Deliciously creamy: The combination of milk and heavy cream gives these popsicles their irresistible creaminess.
Ingredients You’ll Need
Let’s gather our simple, wholesome ingredients for these delightful fudge popsicles. You probably already have most of these in your kitchen!
For the Fudge Popsicles
- 2 cups milk
- 3/4 cup heavy cream
- 1/4 cup granulated sugar
- 2 Tablespoons unsweetened cocoa powder
- 3/4 cup semi-sweet chocolate chips
- 1 1/2 teaspoons vanilla extract
- 1/4 teaspoon fine sea salt
Variations
This fudge popsicle recipe is wonderfully flexible! Here are some fun variations to try:
- Add fruit: Blend in some ripe bananas or strawberries for an added layer of flavor and nutrition.
- Go dairy-free: Swap out the milk and cream for coconut milk for a tropical twist and creamy texture.
- Change the sweetener: Use maple syrup or honey instead of granulated sugar to switch things up.
- Mix in extras: Add chopped nuts or mini marshmallows for a fun surprise in every bite!
How to Make Fudge Popsicles
Step 1: Heat the Base
In a large saucepan, combine the milk, cream, sugar, and cocoa powder over medium heat. Bring this mixture to a light simmer—this helps dissolve the sugar and cocoa fully. Removing it from heat right after simmering prevents scorching.
Step 2: Blend It Smooth
Next, place the chocolate chips in a blender. Carefully pour the hot milk mixture over them and allow it to sit for about two minutes. This step is key because it melts the chocolate perfectly! Afterward, add in the vanilla extract and sea salt before blending until smooth. The result should be luxuriously creamy.
Step 3: Freeze Away
Pour your rich mixture into ice pop molds. Freeze them for about 30 minutes before inserting wooden popsicle sticks. This step is crucial because it ensures that the sticks stand upright while freezing overnight until they are completely solid.
Step 4: Enjoy!
When you’re ready to enjoy your fudge popsicles, simply run warm water over the bottom of the mold or let them sit out on your counter for a few minutes. This will help release them easily without any fuss. Serve these treats cold and watch everyone smile as they take their first bite!
Now you’re all set to make your very own fudge popsicles—enjoy every creamy bite!
Pro Tips for Making Fudge Popsicles
Creating the perfect fudge popsicles is a delightful experience, and with a few handy tips, you can elevate your treats to a whole new level!
- Use high-quality chocolate: Opting for premium semi-sweet chocolate chips enhances the flavor and richness of your fudge pops, making them irresistibly delicious.
- Don’t skip the blending step: Blending the mixture ensures a silky-smooth texture, preventing any graininess from the cocoa powder and chocolate.
- Freeze in stages: Freezing for 30 minutes before inserting the sticks helps keep them centered. This way, you’ll have perfectly balanced popsicles that are easier to eat!
- Experiment with flavors: Feel free to add a splash of almond or mint extract instead of vanilla for a fun twist. This allows you to customize your popsicles and surprise your taste buds!
- Store properly: Wrap individual fudge popsicles in plastic wrap or place them in an airtight container to prevent freezer burn. This keeps them fresh and tasty for longer.
How to Serve Fudge Popsicles
Serving fudge popsicles can be just as fun as making them! With a little creativity, you can transform these frozen treats into a festive presentation that everyone will love.
Garnishes
- Chopped nuts: Sprinkle some chopped almonds or hazelnuts on top for crunch and added flavor.
- Fresh berries: Add a few slices of strawberries or raspberries on the side for a refreshing contrast to the rich chocolate.
- Drizzle of honey or agave syrup: A light drizzle over the popsicle adds sweetness and sophistication to each bite.
Side Dishes
- Fruit salad: A colorful mix of seasonal fruits provides a refreshing balance to the richness of the fudge popsicles.
- Yogurt parfait: Layer yogurt with granola and fresh fruit for a wholesome side dish that complements the creamy texture of the pops.
- Ice cream sundaes: For those who want an indulgent treat, serve alongside ice cream topped with chocolate syrup and sprinkles. It’s sure to be a hit!
- Homemade granola bars: These chewy snacks offer a healthy contrast to your fudgy dessert while still being deliciously satisfying.
With these serving suggestions, your homemade fudge popsicles will not only taste amazing but also look appealing at any gathering! Enjoy every chocolaty bite!
Make Ahead and Storage
These fudge popsicles are perfect for meal prep! You can whip them up ahead of time and have a delightful treat ready to enjoy whenever the craving strikes.
Storing Leftovers
- Store any leftover fudge popsicles in the freezer, wrapped individually in plastic wrap or placed in an airtight container.
- They can last up to two months in the freezer without losing their creamy texture.
Freezing
- Ensure the popsicles are fully frozen before removing them from the molds.
- If you plan to make a large batch, consider using multiple molds for faster freezing.
Reheating
- There’s no need to reheat fudge popsicles; simply let them sit at room temperature for a few minutes if they’re too hard to bite into.
- Running warm water over the mold is a great way to easily release the pops without damage.
FAQs
Here are some common questions about making fudge popsicles.
Can I use different types of milk for fudge popsicles?
Absolutely! You can substitute regular milk with almond, coconut, or oat milk for a dairy-free version. Just keep in mind that it may slightly alter the flavor and creaminess.
How long do fudge popsicles take to freeze?
Fudge popsicles typically need about 6-8 hours to freeze completely. For best results, leave them overnight!
What can I add to my fudge popsicles?
Feel free to get creative! You can mix in nuts, dried fruit, or even swirl in some peanut butter before freezing. Just be mindful not to overload them.
Are these fudge popsicles suitable for kids?
Yes! These homemade fudge popsicles are a great treat for kids. With no artificial ingredients, they’re a healthier choice compared to store-bought options.
How do I make fudge popsicles extra creamy?
Using heavy cream along with milk gives these fudge popsicles their rich, creamy texture. You can experiment with ratios based on your preference!
Final Thoughts
I hope you find joy in making these delicious fudge popsicles! They’re not only easy to prepare but also a delightful treat that everyone will love. Whether you’re sharing them with family or enjoying them solo on a hot day, these fudgesicles are sure to become a favorite. Happy blending and freezing!
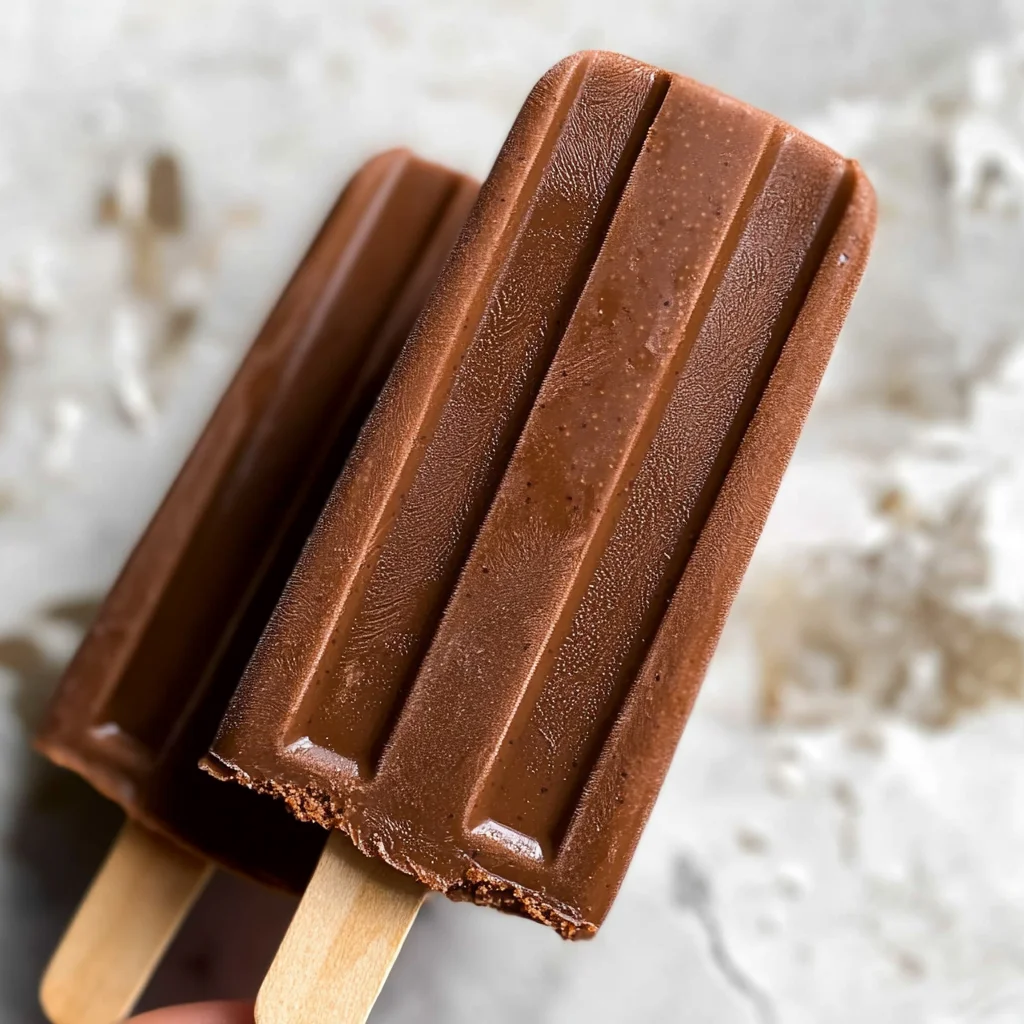
Fudge Popsicles
If you’re searching for a delicious way to beat the summer heat, look no further than these homemade Fudge Popsicles! This delightful recipe features a rich chocolatey flavor paired with a creamy texture that is utterly irresistible. Perfect for family gatherings or a simple after-school treat, these popsicles are made with just seven wholesome ingredients, making them easy to whip up anytime. Plus, they offer endless customization—add your favorite fruits or switch to dairy-free options for a refreshing twist. Treat yourself and your loved ones to this delightful frozen snack that promises smiles and satisfaction in every bite!
- Prep Time: 15 minutes
- Cook Time: 10 minutes
- Total Time: 25 minutes
- Yield: Makes about 6 popsicles 1x
- Category: Dessert
- Method: Freezing
- Cuisine: American
Ingredients
- 2 cups milk
- 3/4 cup heavy cream
- 1/4 cup granulated sugar
- 2 tablespoons unsweetened cocoa powder
- 3/4 cup semi-sweet chocolate chips
- 1 1/2 teaspoons vanilla extract
- 1/4 teaspoon fine sea salt
Instructions
- In a large saucepan, combine the milk, cream, sugar, and cocoa powder over medium heat. Stir until the mixture reaches a light simmer.
- Pour the hot mixture over chocolate chips in a blender and let sit for two minutes. Add vanilla extract and sea salt, then blend until smooth and creamy.
- Pour the mixture into ice pop molds and freeze for about 30 minutes before inserting popsicle sticks. Freeze overnight until solid.
- To serve, run warm water over the mold or let sit at room temperature briefly to release popsicles easily.
Nutrition
- Serving Size: 1 serving
- Calories: 162
- Sugar: 12g
- Sodium: 35mg
- Fat: 9g
- Saturated Fat: 5g
- Unsaturated Fat: 4g
- Trans Fat: 0g
- Carbohydrates: 18g
- Fiber: 1g
- Protein: 3g
- Cholesterol: 31mg