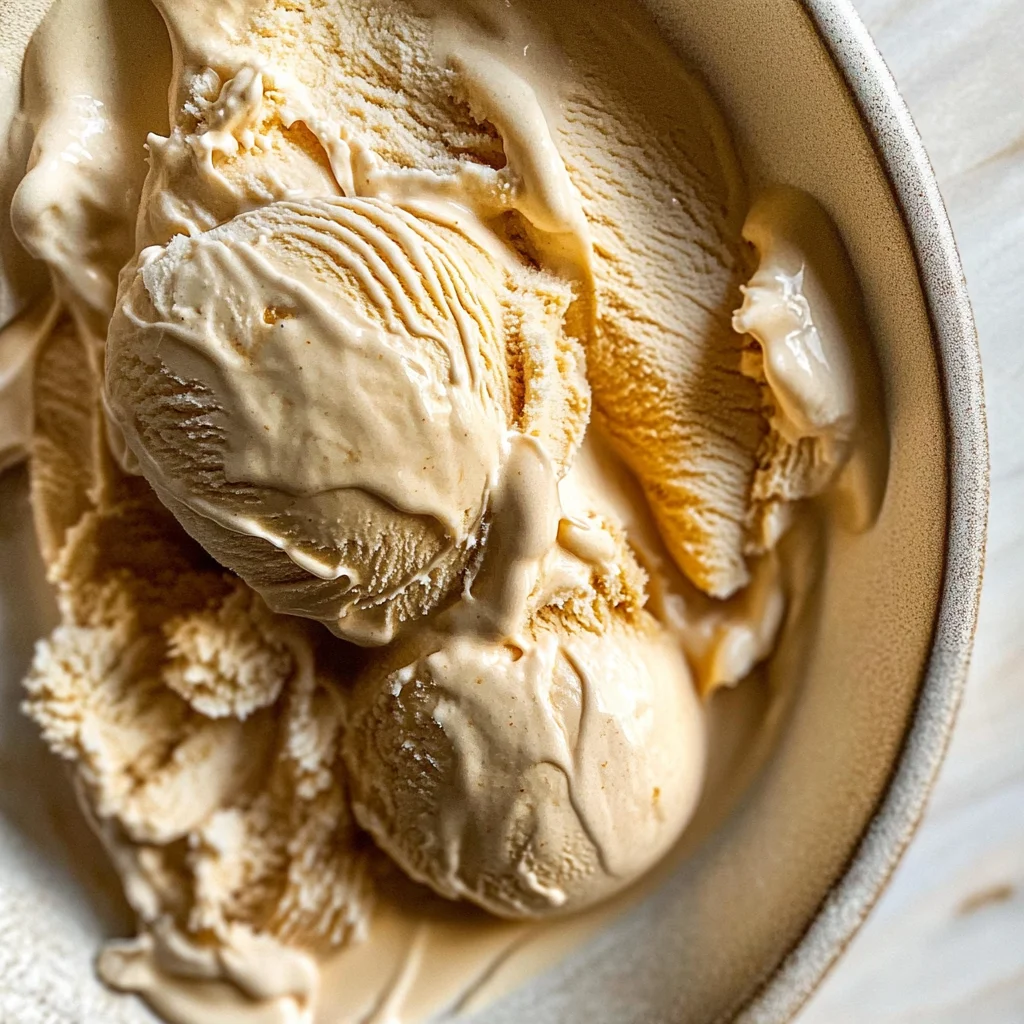
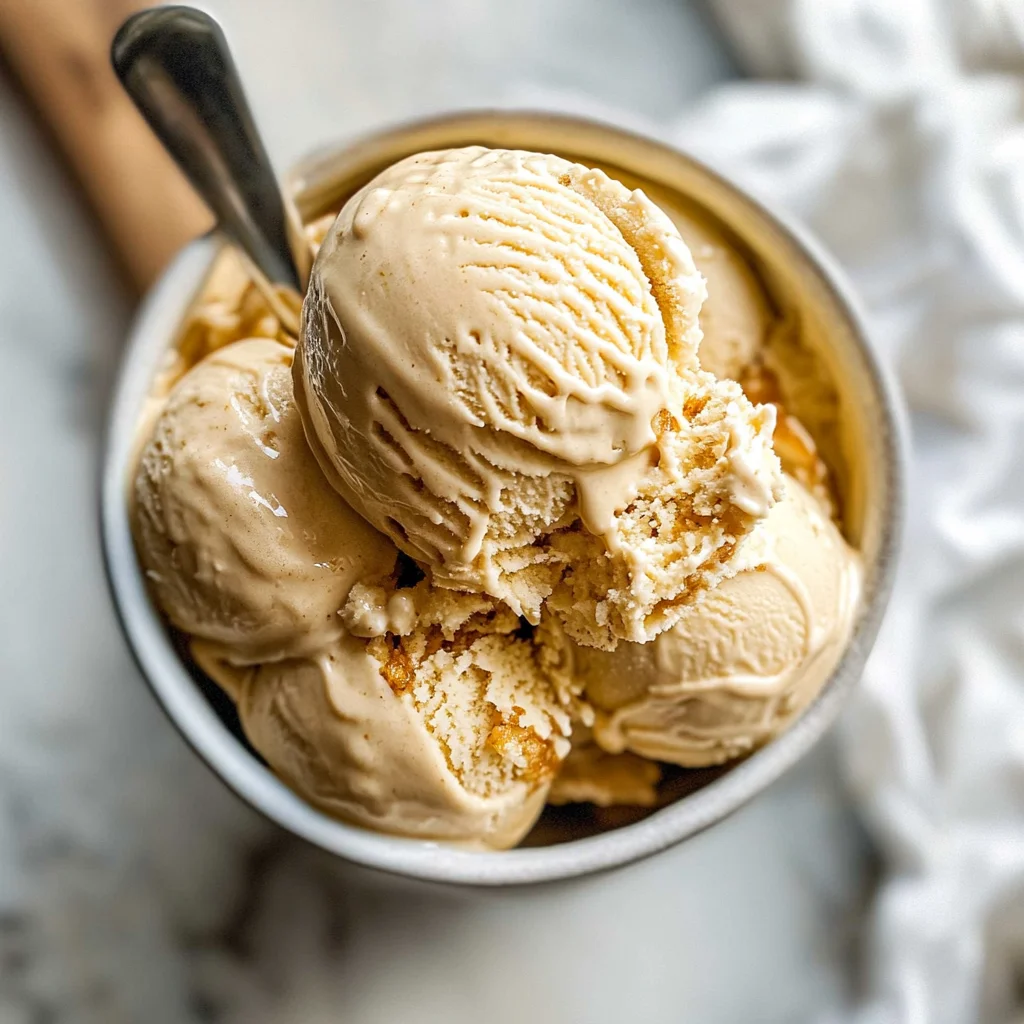
Homemade Maple Ice Cream
If you’re looking for a delightful treat to brighten your day, look no further than this Homemade Maple Ice Cream! This recipe has been a favorite in my family for as long as I can remember. The creamy texture and the sweet, gentle notes of maple syrup create a dessert that feels both special and comforting. It’s perfect for busy weeknights, family gatherings, or just when you need a little something sweet to enjoy after dinner.
What makes this ice cream truly special is how beautifully it pairs with so many desserts. Whether you’re serving it alongside warm apple crisp or simply enjoying it on its own, the flavor of this homemade treat will have everyone coming back for more!
Why You’ll Love This Recipe
- Easy to Make: With just a few simple steps, you can whip up a batch of ice cream that rivals any store-bought version!
- Family-Friendly: Kids and adults alike will love the creamy texture and delicious maple flavor. It’s great for all ages!
- Perfect for Any Occasion: Whether it’s a summer barbecue or a cozy winter evening, this ice cream fits right in.
- Make-Ahead Convenience: You can prepare it ahead of time and store it in the freezer. Just scoop and serve when you’re ready!
- Versatile Pairing: Its light maple taste complements many desserts, making it an excellent addition to your dessert table.
Ingredients You’ll Need
Let’s gather our ingredients! You’ll find that these are simple, wholesome items that come together beautifully to create this creamy delight.
For the Ice Cream Base
- 6 egg yolks
- 3/4 cup maple syrup (Grade B, see notes)
- 1 tsp arrowroot (tapioca starch or cornstarch)
- 1/4 tsp sea salt
- 1 1/2 cups half and half
- 1 1/2 cups heavy cream
- 1 tsp vanilla extract
Variations
One of the best things about making your own ice cream is how flexible you can be with flavors! Here are some fun variations you might want to try:
- Add Some Spice: Consider adding a pinch of cinnamon or nutmeg to give your ice cream a warm depth of flavor.
- Mix in Nuts: Chopped walnuts or pecans add delightful crunch and pair perfectly with the maple sweetness.
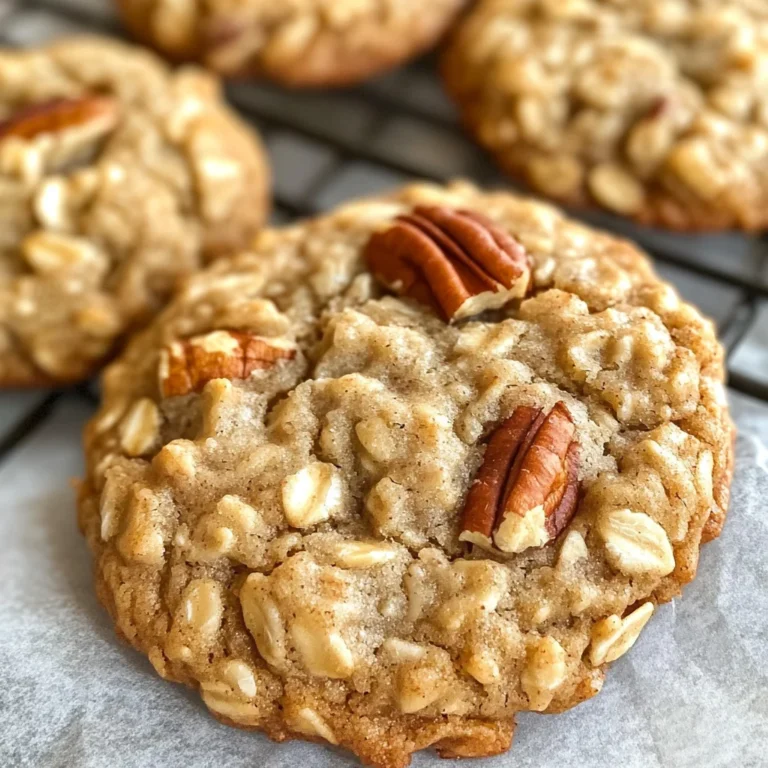
- Swirl in Some Fruit: A swirl of fresh blueberries or strawberries can add a refreshing twist to each scoop.
- Chocolate Lovers Unite: Mix in some chocolate chips for an indulgent chocolate-maple experience!
How to Make Homemade Maple Ice Cream
Step 1: Whisk Together the Egg Yolks
Start by whisking together the egg yolks, maple syrup, arrowroot, and sea salt until everything is fully combined. This step is crucial because it creates the rich base for our ice cream. The egg yolks contribute to that silky smooth texture we all love!
Step 2: Heat the Mixture
Next, whisk the half and half into your egg mixture. Cook it over medium-high heat while whisking constantly until the mixture begins to thicken but does not boil. This gentle heating process helps develop flavors without curdling the eggs.
Step 3: Add Cream and Vanilla
When your mixture thickens nicely, immediately remove it from the heat. Now it’s time to whisk in the heavy cream and vanilla extract! This will enrich your base even further and enhance that lovely maple flavor.
Step 4: Strain and Chill
Pour your mixture through a strainer into another bowl to catch any stray bits. Then chill the custard in the refrigerator for at least 4 hours. Chilling helps develop flavors and ensures that your ice cream is super creamy once frozen.
Step 5: Freeze Your Ice Cream
Once chilled, freeze the mixture according to the manufacturer’s instructions for your 2-quart ice cream machine. It’s done when it stands up on a spoon—perfectly fluffy!
Step 6: Final Freeze
After churning, transfer your homemade ice cream into a container and place it in the freezer for an additional 4-6 hours. This final freeze allows everything to set perfectly.
And there you have it! Your very own Homemade Maple Ice Cream ready to be enjoyed!
Pro Tips for Making Homemade Maple Ice Cream
Making your own ice cream is a delightful experience, and with these tips, you’ll create the perfect batch of homemade maple ice cream every time!
- Use Grade B Maple Syrup: This type has a richer flavor compared to Grade A, giving your ice cream that deep maple sweetness that makes every scoop a treat.
- Chill Thoroughly: Allowing the custard to chill for at least 4 hours (or overnight) ensures the flavors meld beautifully and helps achieve a smoother texture when churning.
- Don’t Rush the Cooking: Cooking the mixture slowly over medium-high heat allows it to thicken properly without curdling. Patience here pays off with a creamy, luscious result!
- Strain the Mixture: Straining removes any cooked egg bits and ensures an ultra-smooth texture. This step is key to achieving that silky mouthfeel we all love in ice cream.
- Store Properly: To maintain the best texture, store your ice cream in an airtight container and cover it with parchment paper before sealing. This prevents ice crystals from forming.
How to Serve Homemade Maple Ice Cream
Serving your homemade maple ice cream can be just as fun as making it! Here are some creative ways to present this delicious dessert.
Garnishes
- Chopped Nuts: Toasted pecans or walnuts add a lovely crunch and complement the maple flavor perfectly.
- Whipped Coconut Cream: A dollop of light whipped coconut cream adds an airy touch and enhances the creaminess of the ice cream.
- Maple Drizzle: A drizzle of additional maple syrup on top elevates the sweetness and creates a beautiful presentation.
Side Dishes
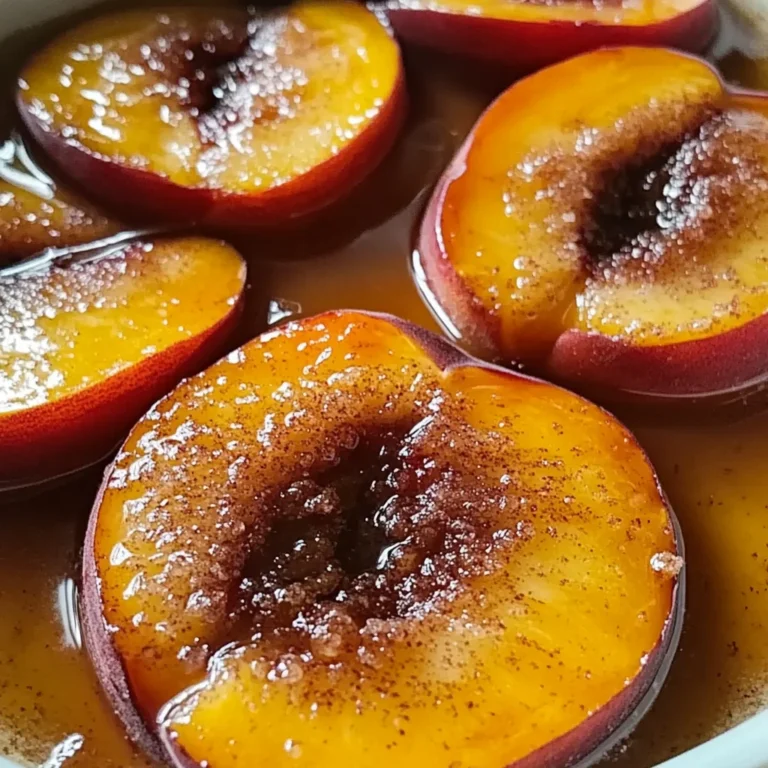
- Apple Crisp: The warm spices and tender apples wonderfully contrast with the coolness of maple ice cream, making for a comforting dessert duo.
- Chocolate Chip Cookies: Freshly baked cookies provide a chewy bite that pairs beautifully with soft scoops of maple goodness.
- Berries: A mix of fresh strawberries, blueberries, or raspberries adds brightness and tartness that perfectly balance the sweetness of the ice cream.
- Pancakes or Waffles: Serve alongside fluffy pancakes or waffles for a delightful breakfast-for-dessert experience that everyone will love.
Now you’re ready to enjoy your homemade maple ice cream in style! With these serving suggestions, you’ll impress friends and family alike while savoring each delicious bite.
Make Ahead and Storage
This Homemade Maple Ice Cream recipe is perfect for meal prep, allowing you to indulge in the creamy goodness whenever you desire. It’s a great treat to have on hand for unexpected guests or just a cozy night in!
Storing Leftovers
- Store any leftover ice cream in an airtight container.
- Place parchment paper directly on the surface of the ice cream before sealing to prevent ice crystals from forming.
- Keep it in the freezer for up to two weeks for optimal freshness.
Freezing
- If you want to make this ice cream ahead of time, freeze it according to the instructions.
- After churning, transfer the ice cream to a container and ensure it’s well-sealed.
- Allow it to freeze for at least 4-6 hours before serving.
Reheating
- Ice cream doesn’t need reheating, but if it’s too hard, let it sit at room temperature for about 5-10 minutes before scooping.
- For a softer texture, you can microwave it in short bursts (10 seconds) until your desired consistency is reached.
FAQs
Got questions about Homemade Maple Ice Cream? You’re not alone! Here are some common queries that might help.
Can I use different types of maple syrup for Homemade Maple Ice Cream?
Yes! While Grade B maple syrup is recommended for its rich flavor, you can use any grade of pure maple syrup. Just keep in mind that the flavor intensity may vary slightly.
How long does Homemade Maple Ice Cream last in the freezer?
Homemade Maple Ice Cream can last up to two weeks when stored properly in an airtight container. For the best taste and texture, try to consume it within that timeframe.
Is Homemade Maple Ice Cream easy to make?
Absolutely! With just a few simple ingredients and straightforward steps, making your own ice cream at home is not only easy but also incredibly rewarding.
What can I serve with Homemade Maple Ice Cream?
This delicious ice cream pairs wonderfully with warm desserts like apple crisp or brownies. It can also be enjoyed on its own as a sweet treat!
Final Thoughts
I hope this Homemade Maple Ice Cream recipe brings joy and sweetness into your kitchen. The creamy texture and delightful maple flavor make it truly special. Enjoy making this treat, and don’t forget to share it with family and friends! Happy scooping!
Homemade Maple Ice Cream
Indulge in the creamy, sweet delight of Homemade Maple Ice Cream! This easy-to-follow recipe combines rich maple syrup with simple ingredients to create a comforting dessert that will leave everyone wanting more. Perfect for family gatherings or a cozy night in, this ice cream is versatile enough to pair with warm desserts like apple crisp or enjoy on its own. Whether you’re serving it at a summer barbecue or during winter holidays, this homemade treat is sure to impress.
- Prep Time: 15 minutes
- Cook Time: 10 minutes
- Total Time: 25 minutes
- Yield: Approximately 8 servings 1x
- Category: Dessert
- Method: Churning
- Cuisine: American
Ingredients
- 6 egg yolks
- 3/4 cup Grade B maple syrup
- 1 tsp arrowroot (or tapioca starch/cornstarch)
- 1/4 tsp sea salt
- 1 1/2 cups half and half
- 1 1/2 cups heavy cream
- 1 tsp vanilla extract
Instructions
- Whisk egg yolks, maple syrup, arrowroot, and sea salt until smooth.
- Gradually whisk in half and half over medium-high heat until thickened but not boiling.
- Remove from heat and stir in heavy cream and vanilla.
- Strain mixture into a bowl, chill for at least 4 hours.
- Freeze in an ice cream machine according to manufacturer instructions.
- Transfer to a container and freeze for an additional 4-6 hours before serving.
Nutrition
- Serving Size: 1/2 cup
- Calories: 320
- Sugar: 24g
- Sodium: 60mg
- Fat: 25g
- Saturated Fat: 15g
- Unsaturated Fat: 9g
- Trans Fat: 0g
- Carbohydrates: 28g
- Fiber: 0g
- Protein: 3g
- Cholesterol: 200mg